
The second challenge (60 of 103 entrants made it to round 2) for the Sewing Bee was to create a garment using bias. Guidelines were to use bias in an adult garment, show how you used bias in your garment & show the bias grain in your entry submission.
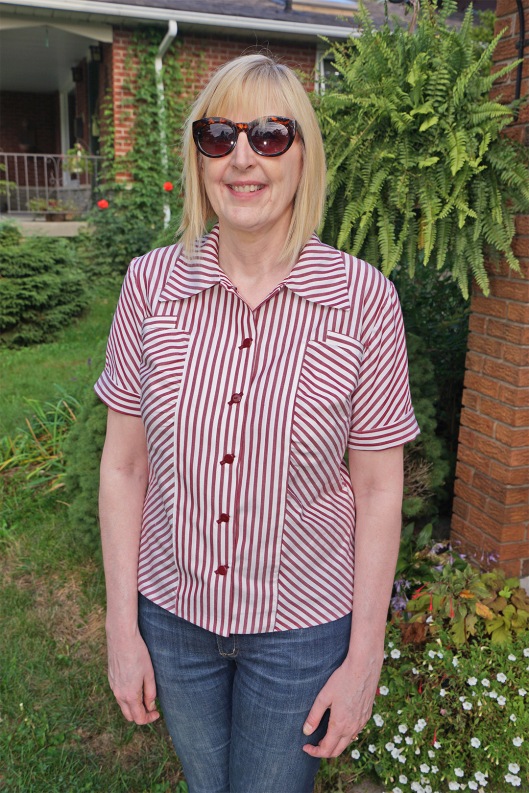
I decided to go vintage all the way! Bias eats up an enormous amount of fabric, and I wanted to use stash fabric and pattern in this project. Bias screams vintage to me, so it gave me a good chance to go through my vintage pattern collection and match it with something in my substantial stash.
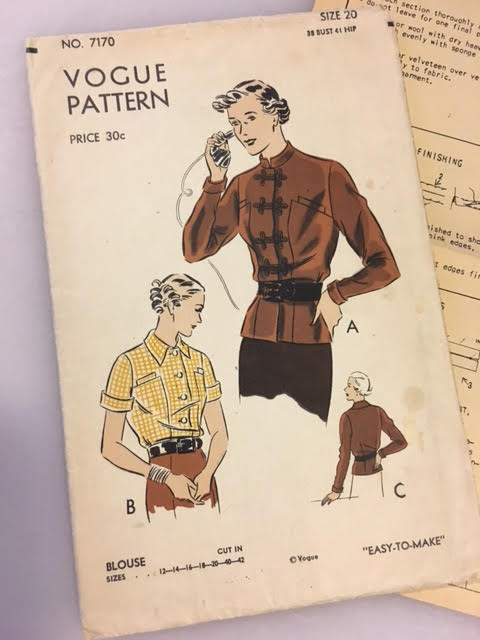
So I found this beautiful 1930’s Vogue women’s blouse pattern. It has a single welt chest pocket (for all your boob pocket needs?), a side front inset, and short, cuffed sleeves. I sketched a few variations of stripe blocking until I was happy. After reading a couple of articles on sewing with bias, I also decided to alter the sleeve to cut it in 2 pieces on the bias creating a chevron seam. The fabric is vintage men’s cotton shirting, only 35″ wide. I cut the side front panel on the bias & I also made the buttonholes on a 45 degree angle. I think I’m most pleased with the sleeves and buttonholes – these are the nicest buttonholes I’ve ever done, and they were done at 1am!
The pattern is unprinted tissue & instructions look like this:


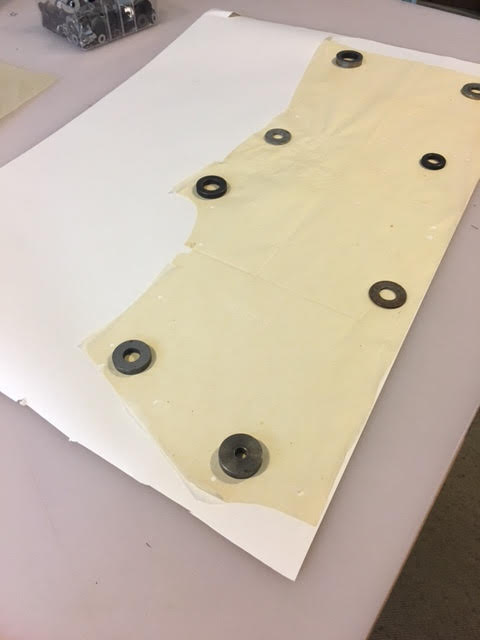
So I had to trace out the tissue onto more substantial paper to fit and alter it; adding length and some width to the back:
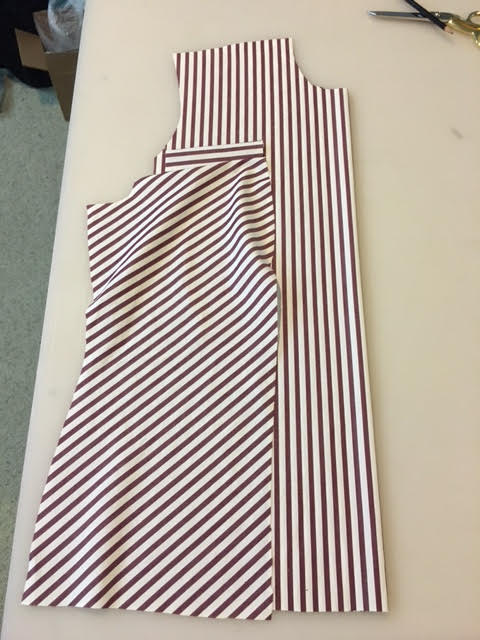
The construction involved lots of hand sewing, and basting to match the stripes. Here’s how I matched them – you can see I cut out the pattern on one layer with a stripe marked on the pattern piece. This particular one is on the bias; you can see the diagonal grainline marked on the pattern.

Here’s the bias side front in place:
Working through a pattern of this vintage was very interesting. The order of construction was surprisingly different; the very first step was to work the bound buttonholes; which are usually sewn last (I sewed my buttonholes last) What looked like an inset front corner was actually lapped seams secured with topstitching. The hem was completed before the garment was sewn together. The instructions are very detailed, yet do still require some advanced skill knowledge (they don’t actually show you how to make a bound buttonhole, they assume you just know how) The details are gorgeous, the long sleeve version has a fitted sleeve with 3 darts at the elbow.
Here are some close ups of the bias work; you can see I cut the sleeve cuff and welt on the cross grain, too:


Overall I’m pleased with how it turned out – it was way more work than I thought it would be, but I especially love the buttonholes. Now to wait for the judging to see if I make it to round 3!

It is wonderful and looks lovely on you! I would go nuts working on stripes. It was a complex pattern, which you took at least one step further with the chevron sleeves.
Awesome! Such a clever use of stripes.
This is that blouse that people have for years and when they put it on, it’s always the right thing and they could never find a replacement. You know what I mean? I really like this!
Love the stripes on those sleeves. And your buttonholes are on the bias, too!
You are amazing- so happy to find your blog! Why I want to sew: delve into the intricacy and detail as you have so thoughtfully laid out, and create something truly unique. Thank you for the inspiration!
Hi I just found your blog because I need some inspiration to start sewing again & especially from some else who lives in Canada like me. Your blouse is so amazing. I don’t think I would start with as complicated a pattern like this but you have encouraged me to get started and work towards creating a masterpiece like yours.